Hello everyone!
As some of you may know I love interior decor and I am always changing up my room. I love buying pieces but sometimes I think it’s fun to do it yourself. Not only is it cheeper but it adds a personal and unique touch. I love knowing that I created it myself and no one else has the exact piece. Scrolling through Pinterest looking at home decor is one of my favourite pastimes and I kept seeing vintage looking books being used as decor. I went on the hunt for some and quickly realized that they are pretty expensive. After searching I realized that I can easily make them myself using books I had at home, and some tea bags. A lot of you have been asking for more interior content so I wanted to document the process in case you guys wanted to recreate them for yourself. This is the step by step process of how I did it! I hope you enjoy, send pictures to my instagram @alittletouchofgold if you do make them yourself, I would love to see how they turn out. Also follow my Instagram if you want to see more fashion and interior content!
Some important things to keep in mind with this DIY is that the colour of your pages will vary depending on how many times you coat them with your tea. The more you do it the darker your pages will be and the less the lighter they will be. I did a variation as I wanted the colours of my books to be slightly different to really give them that unique vintage look. Another thing is that after you have completed the tea bag step you can either choose to paint your books or wrap them in some wrapping paper. It is all preference. I again did a combination of both to give them a different feel. Wrapping them keeps them sleek looking but painting them gives them a beautiful and almost imperfect affect that really goes with the vintage look.
Materials


- Books
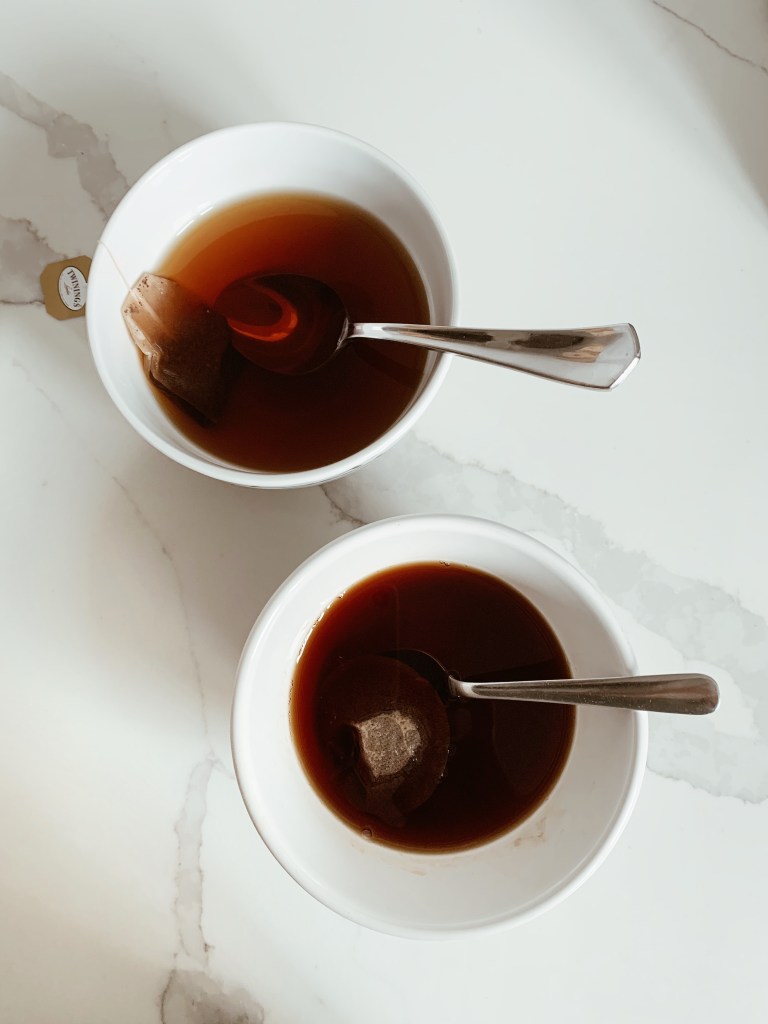
- Tea Bags
- Kettle
- Knife
- Bowls
- Paint Brush
- White Paint
- White Wrapping Paper
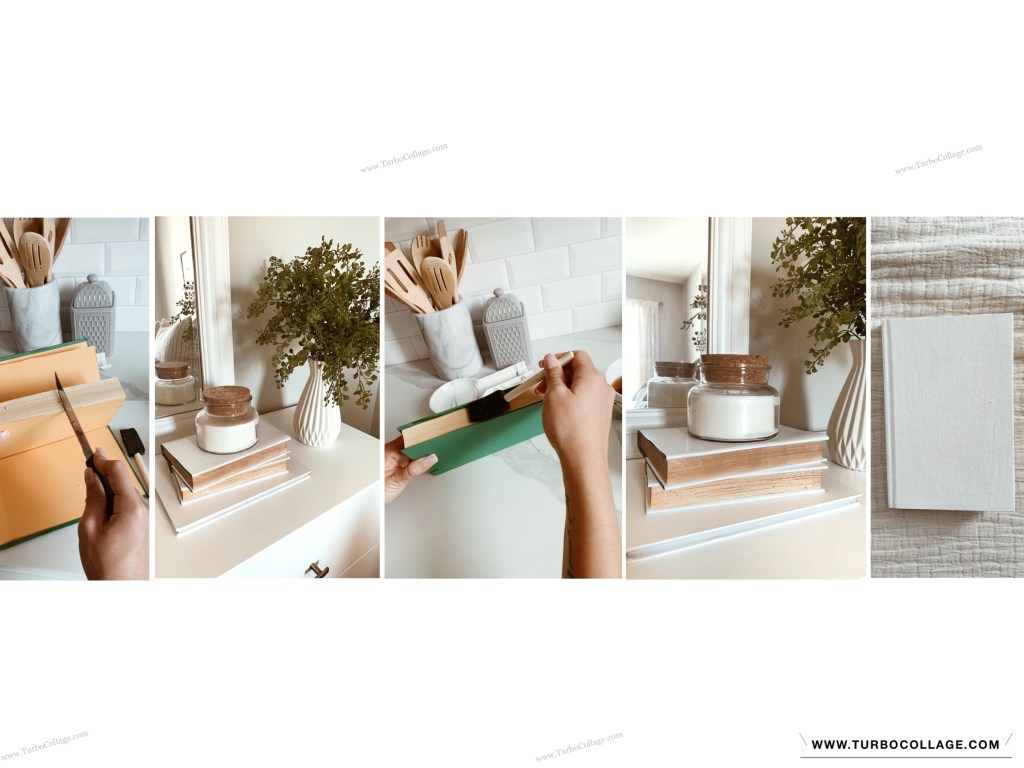
Steps
- Start with bowling your water to steep your tea in
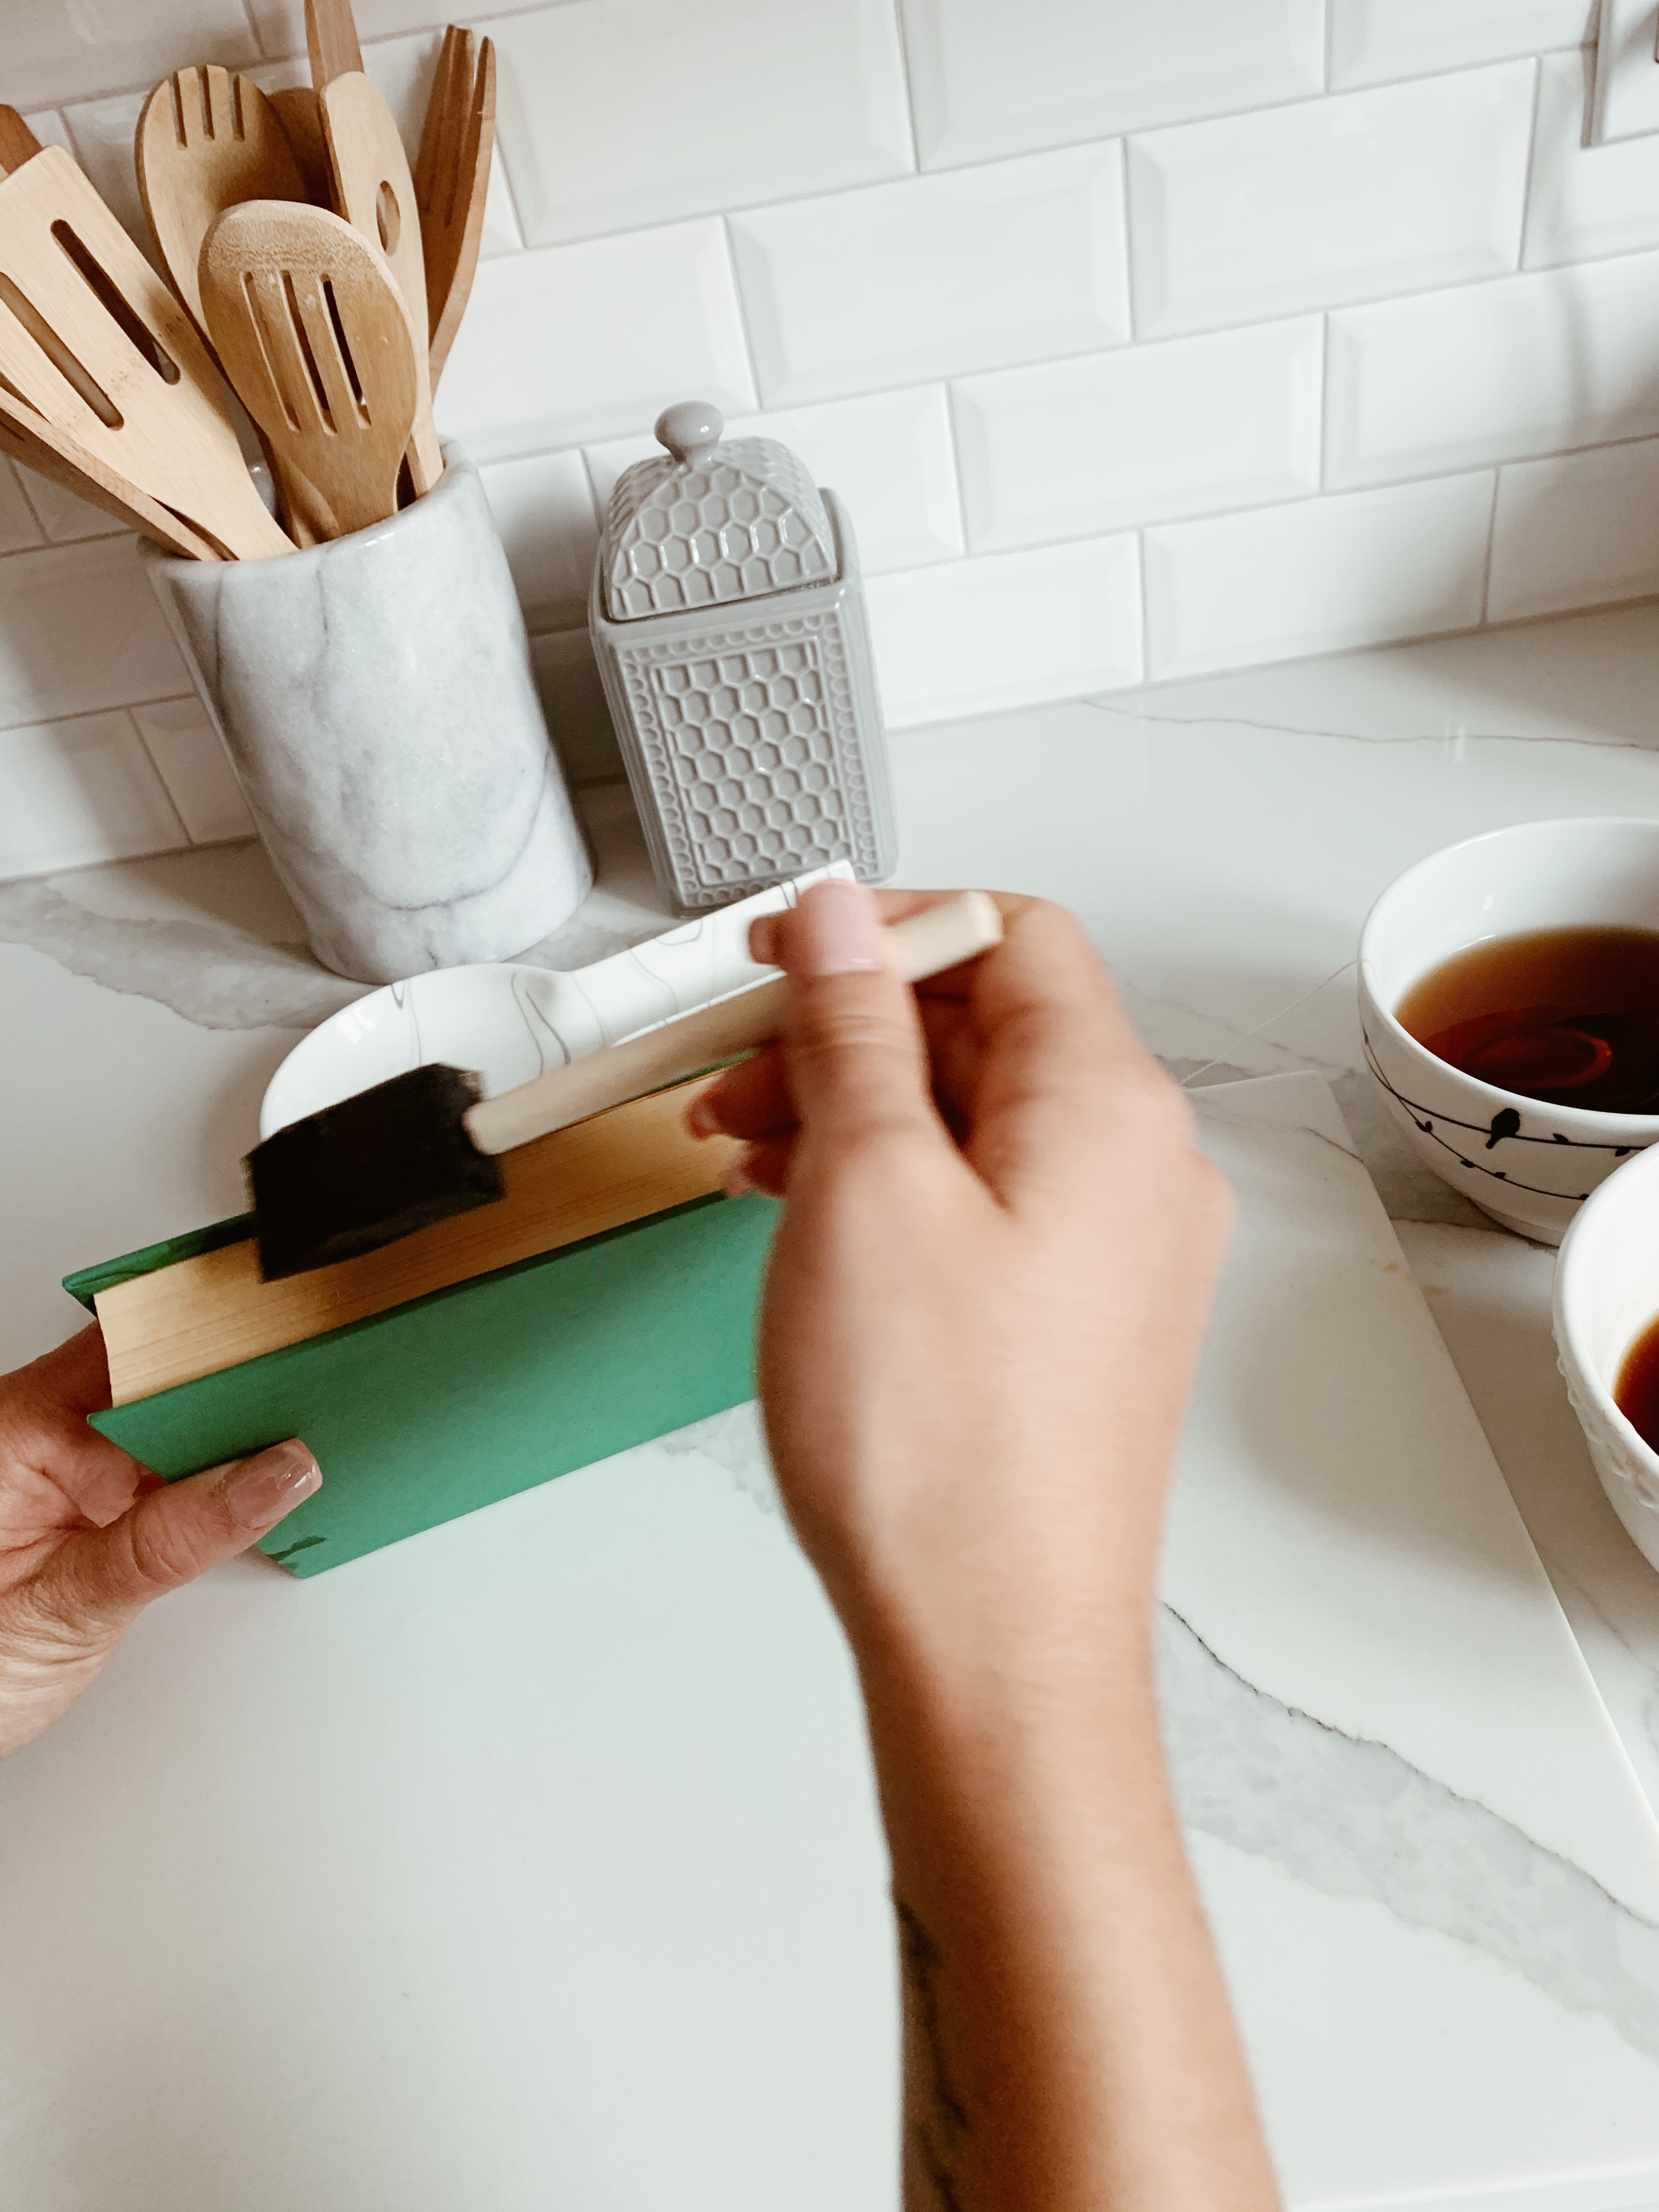
2. Then simply grab your paint brush and start painting each side of your book (again coat them based on how dark you want your pages)

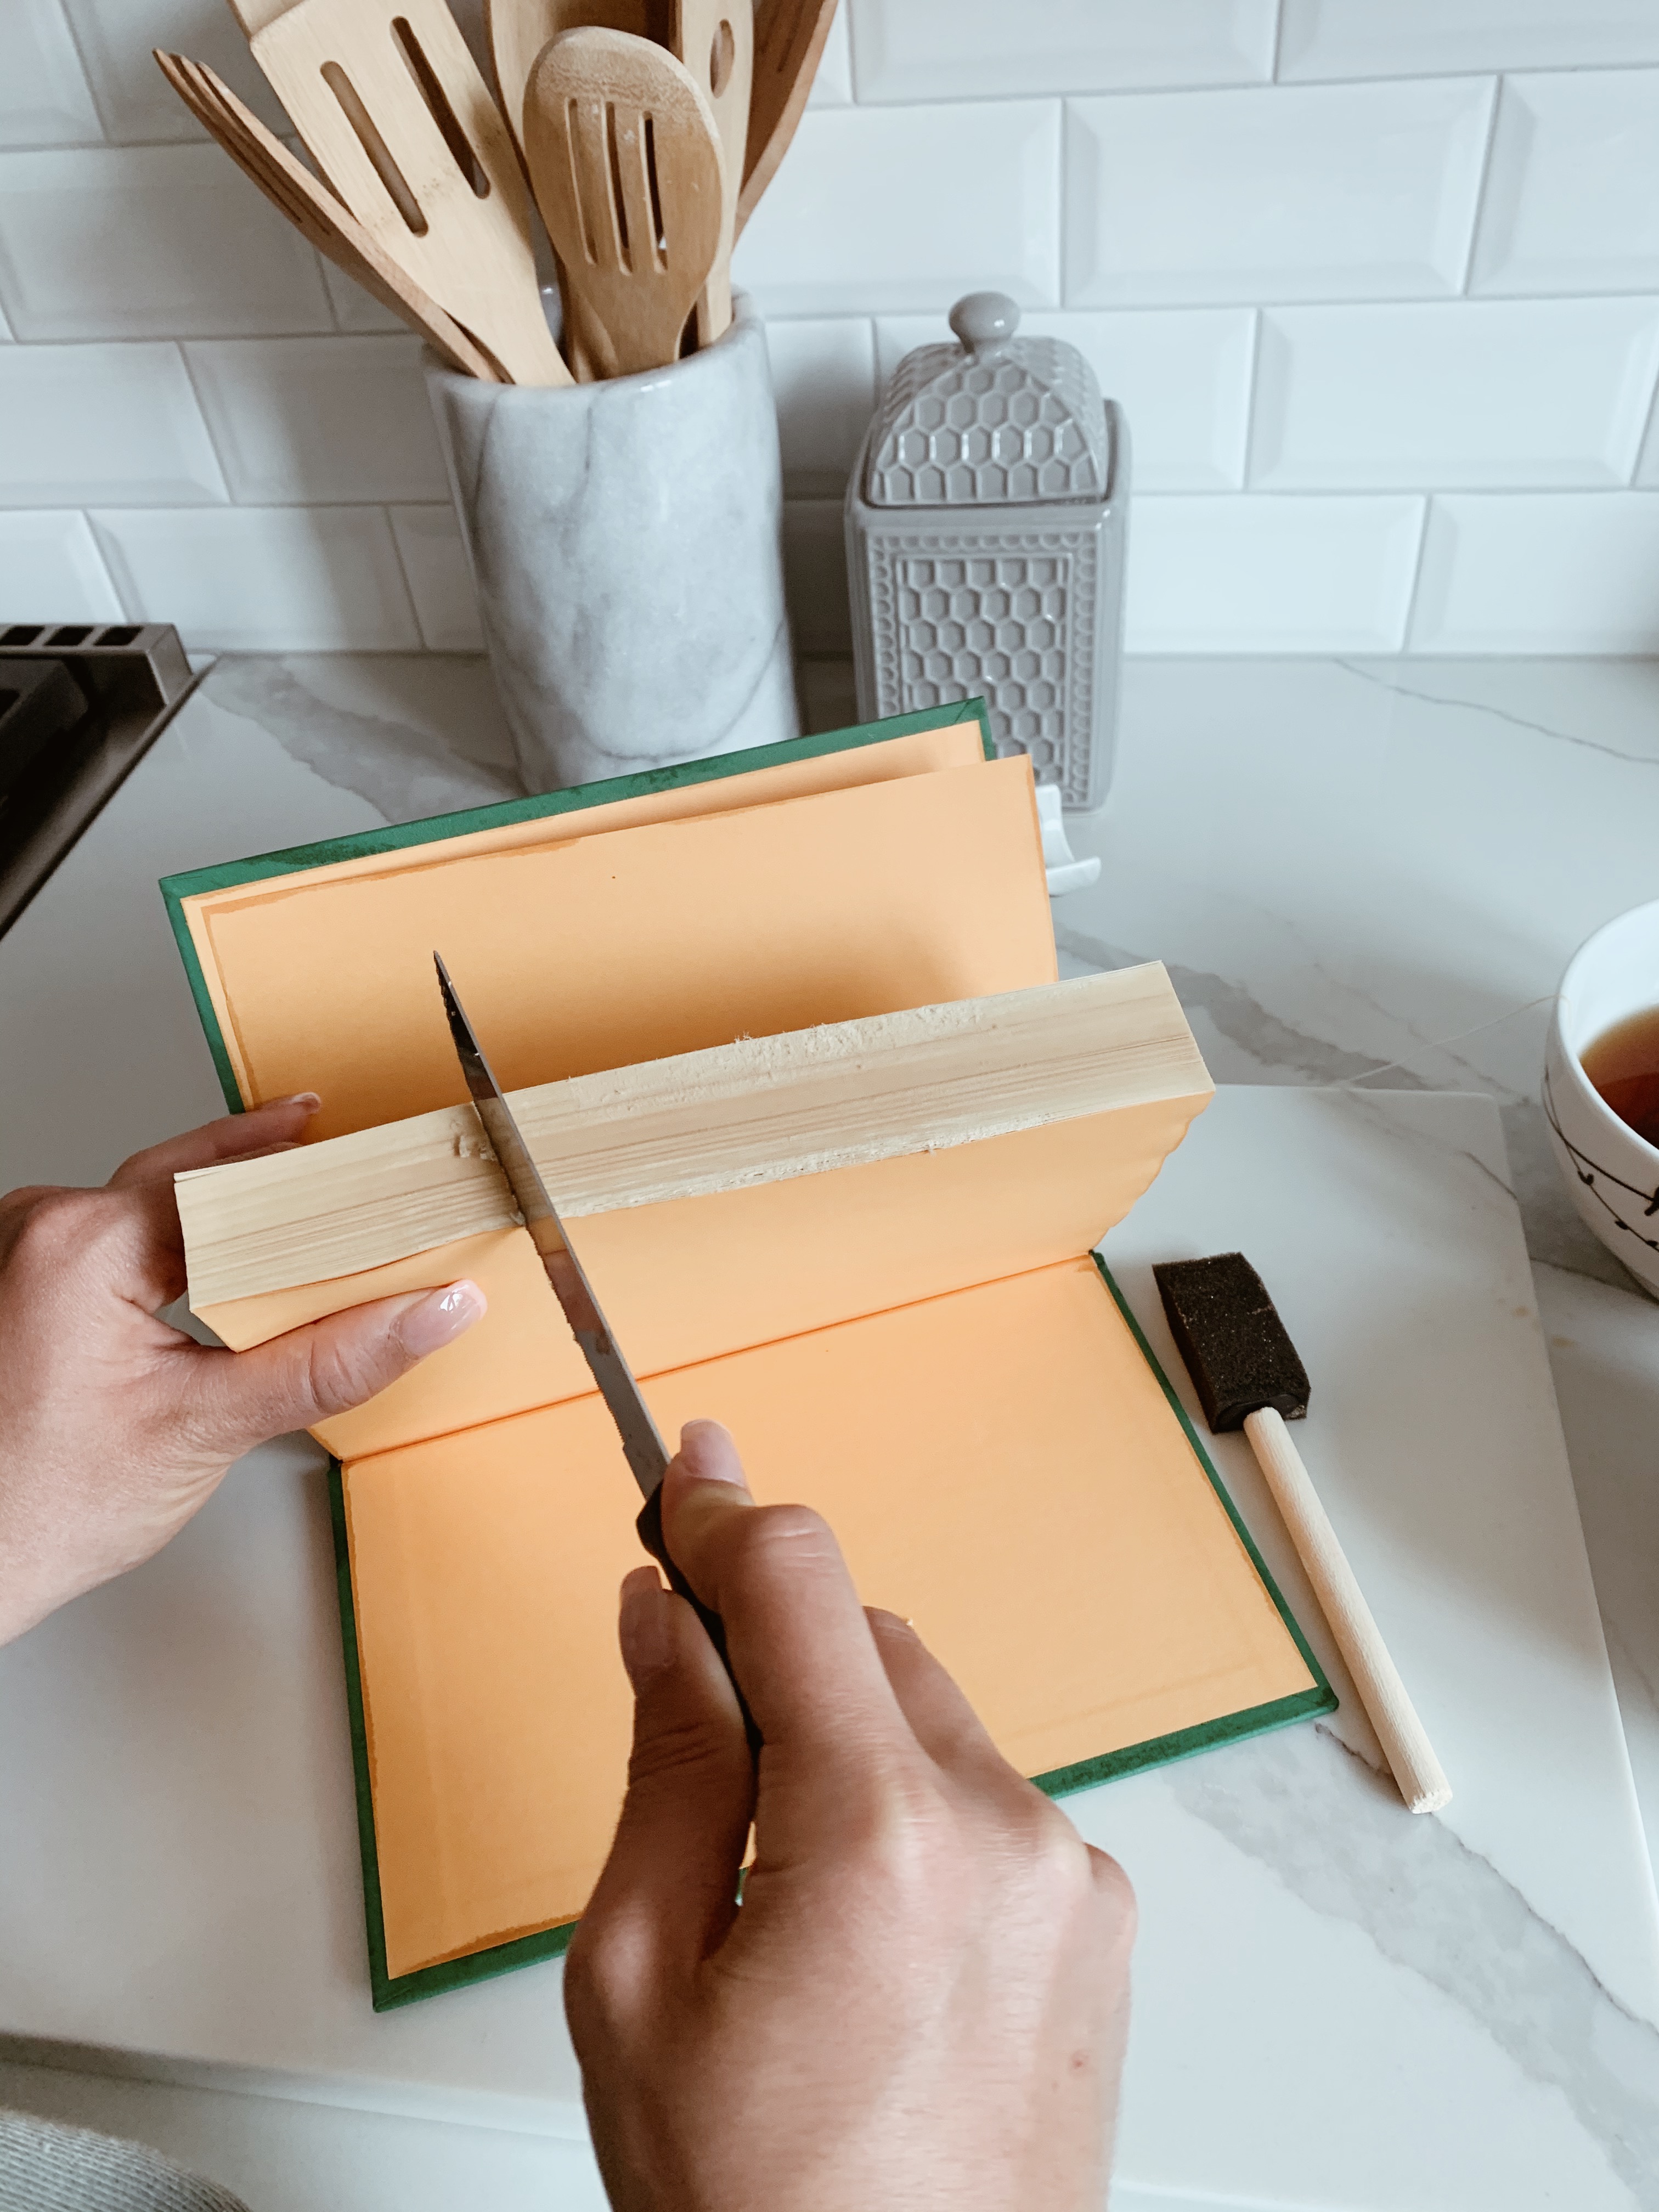
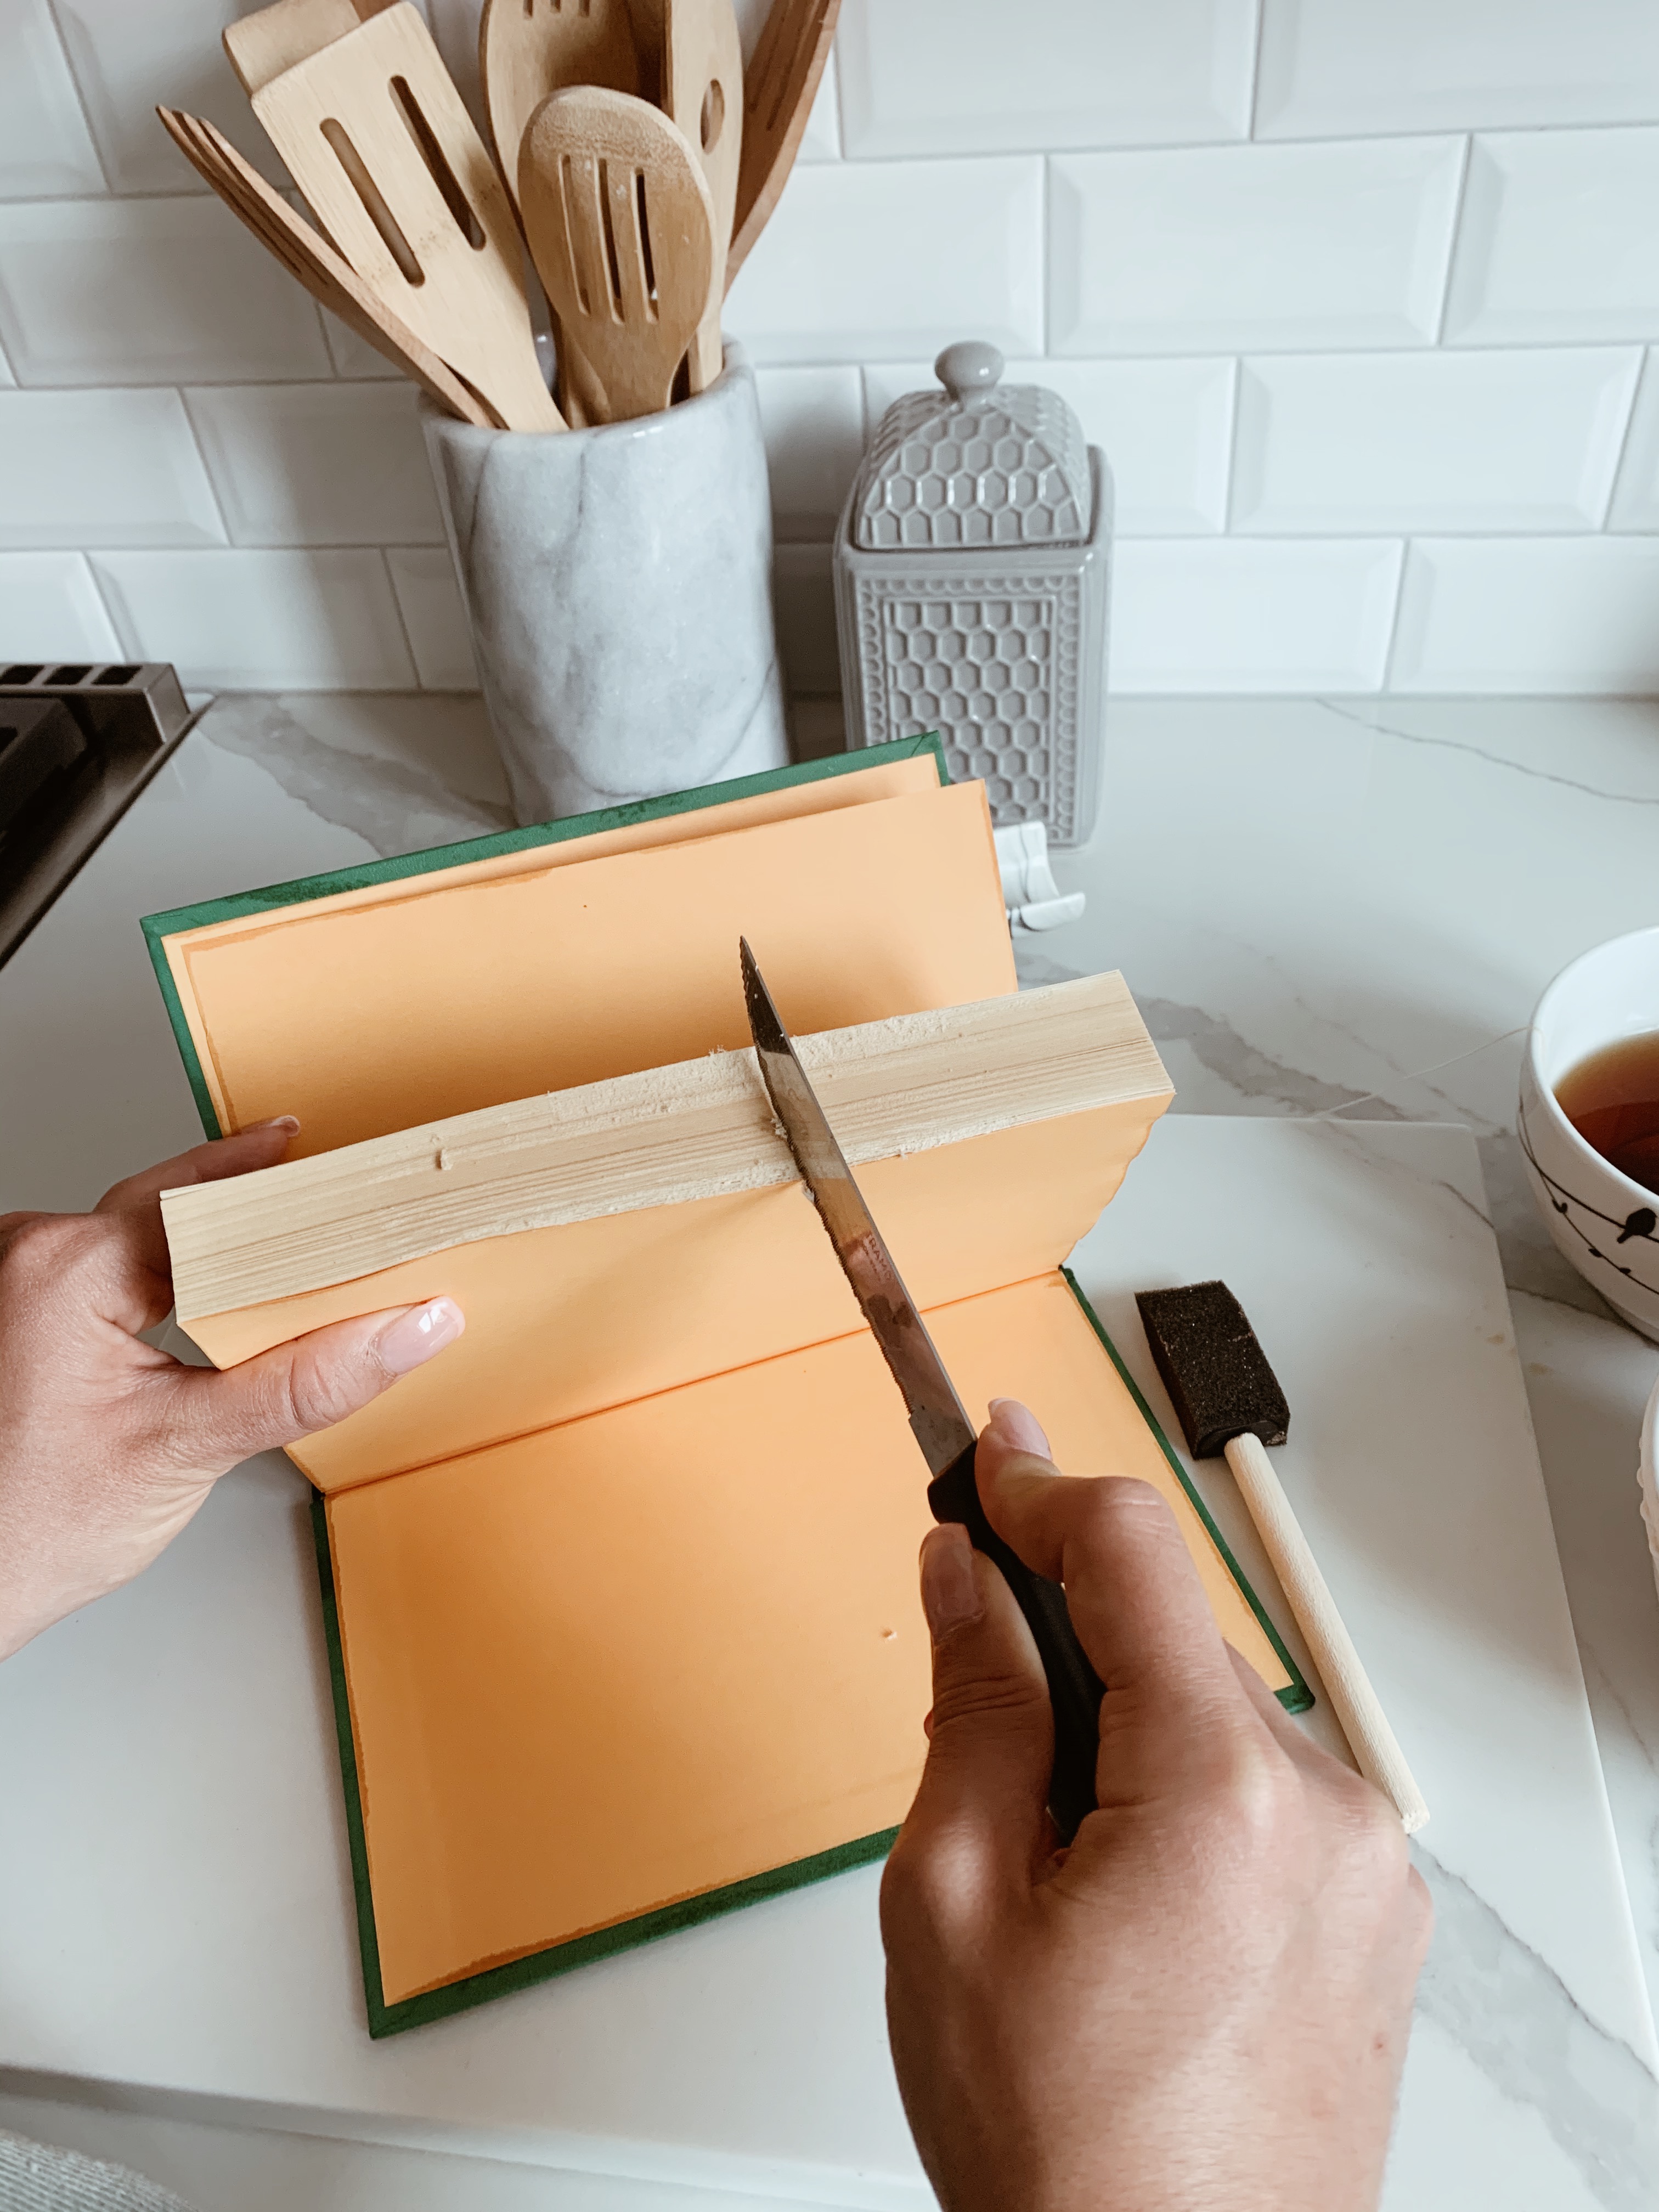
3. This step is optional but if you want more of a distressed look use a knife and safely run it across the paper to tear it up to your desire. Then add another couple layers of tea to your pages, then add more distressing. Keep repeating this process till you have your desired look.
4. Leave your books out to dry for 24 hours, I recommend placing a weight on top of them to keep the pages flat

5. Once your books are dry you can decide to either paint them or wrap them in wrapping paper.
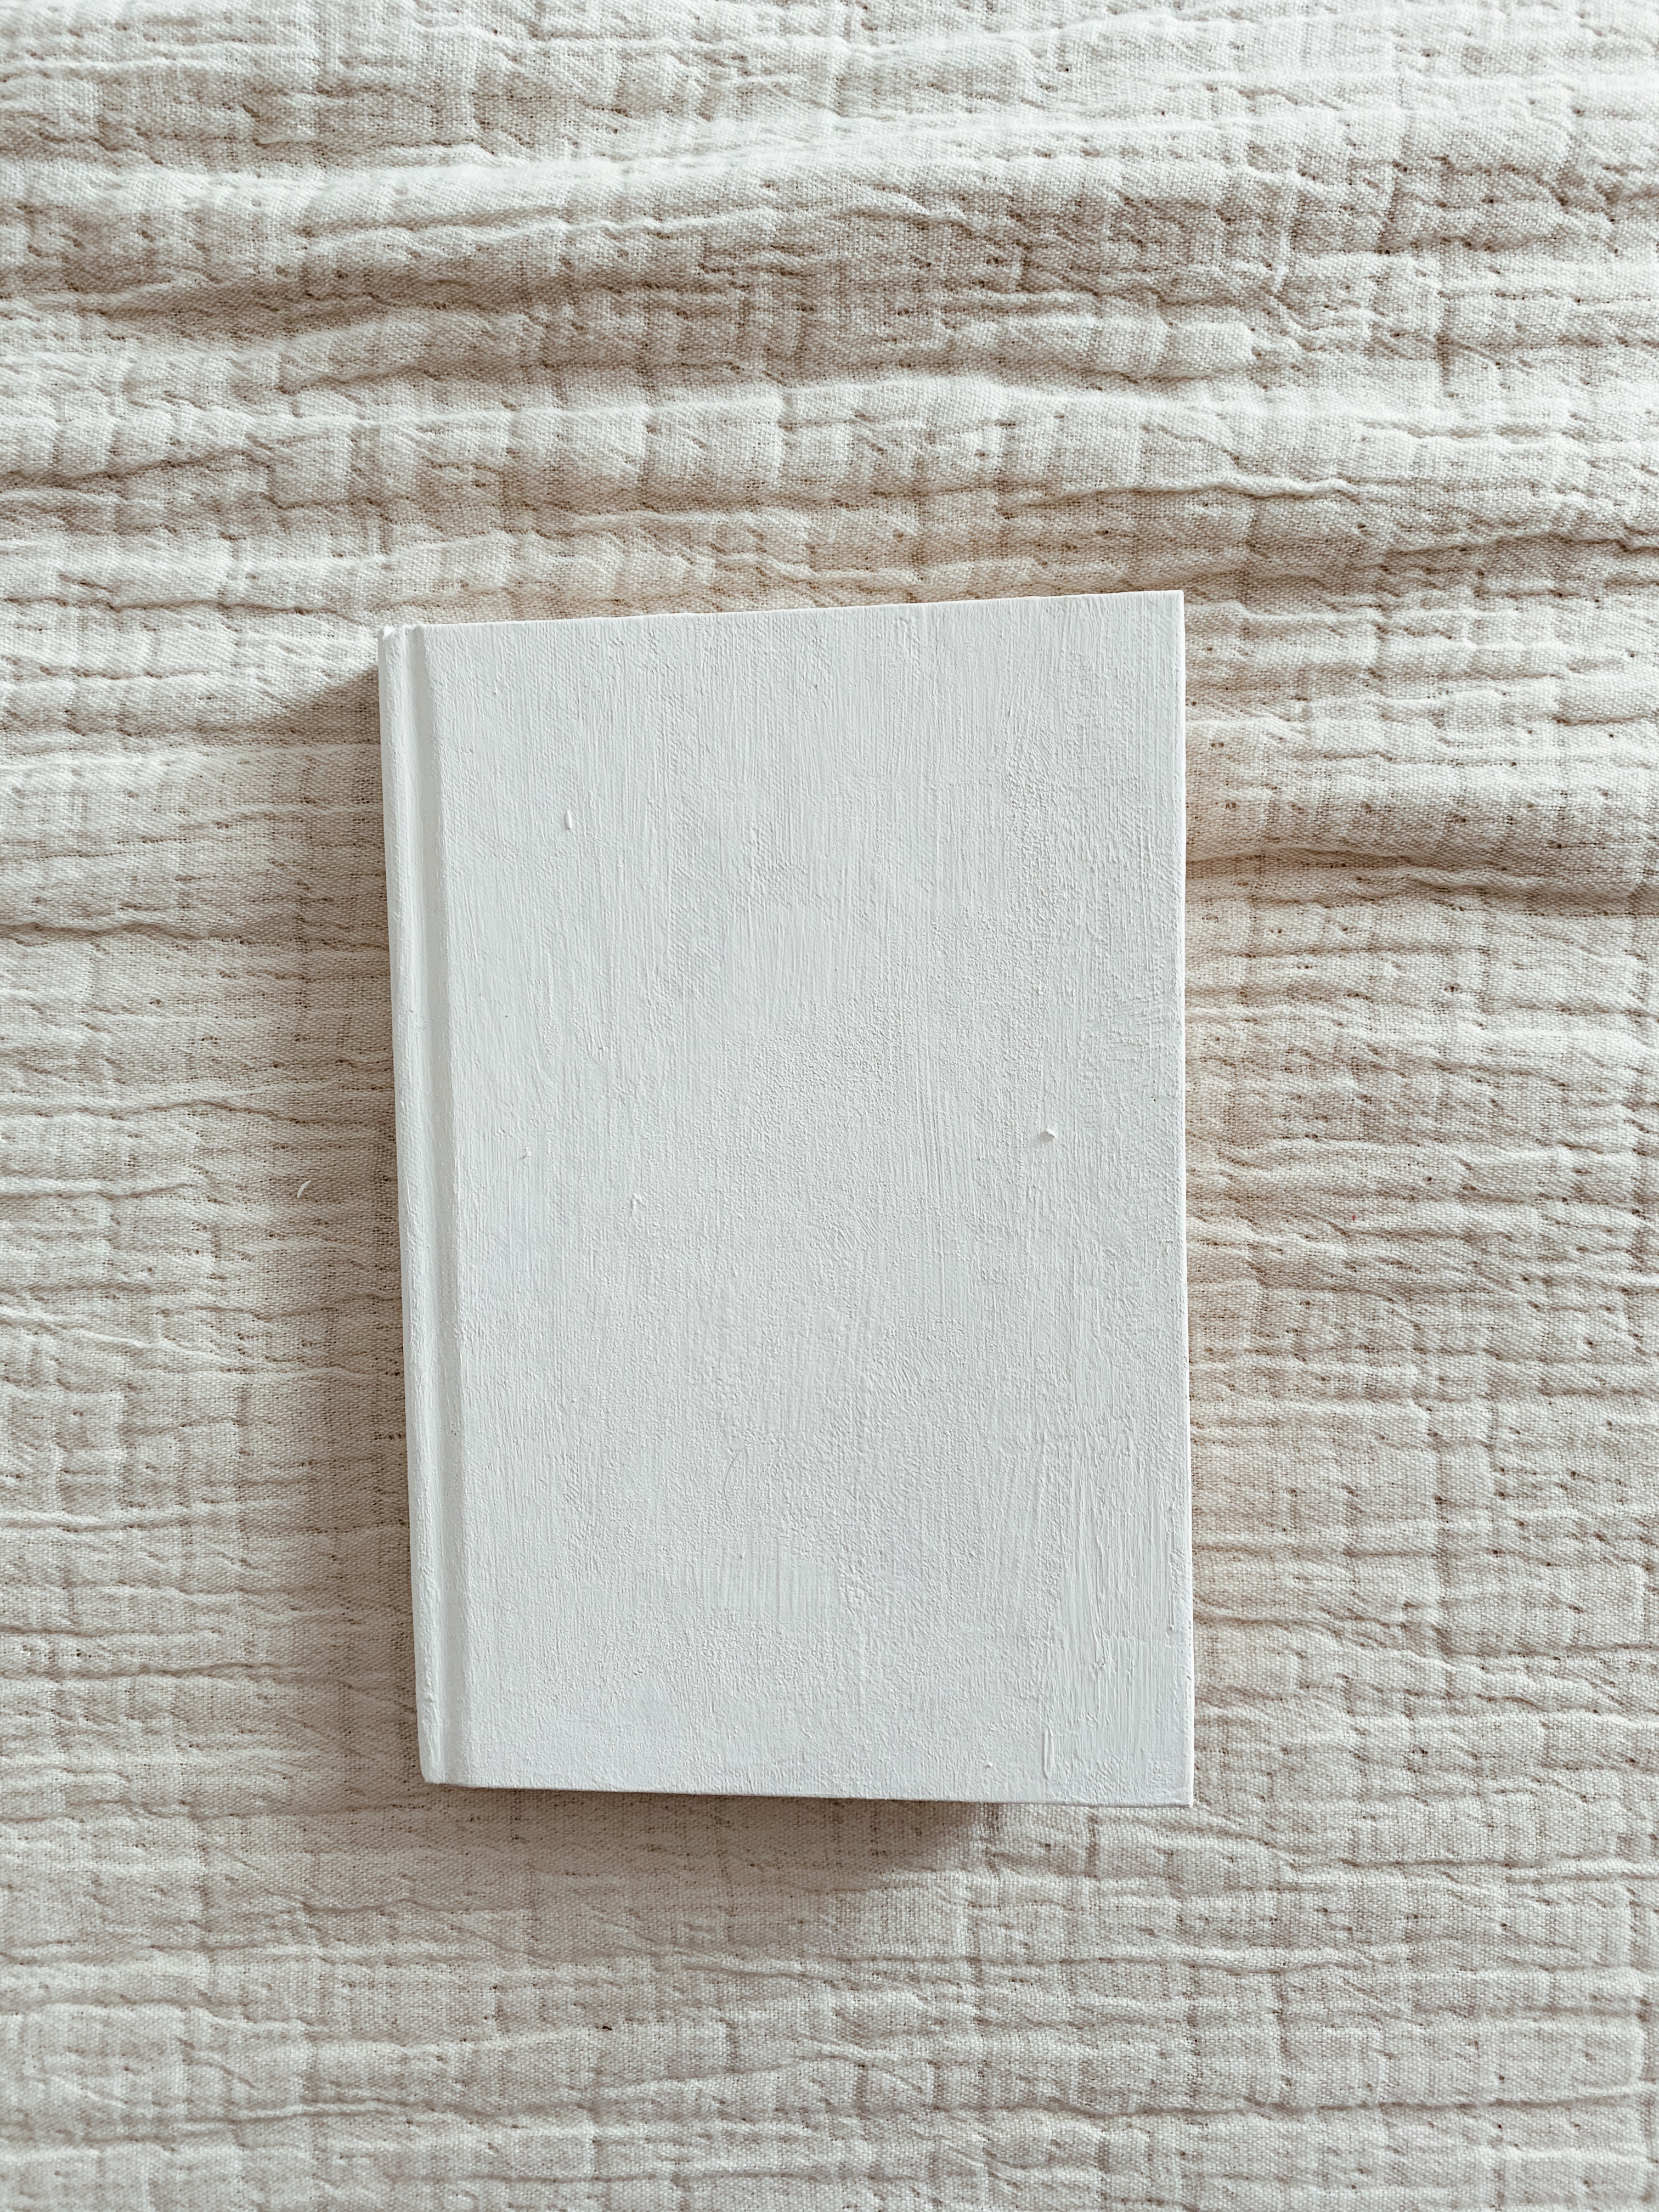
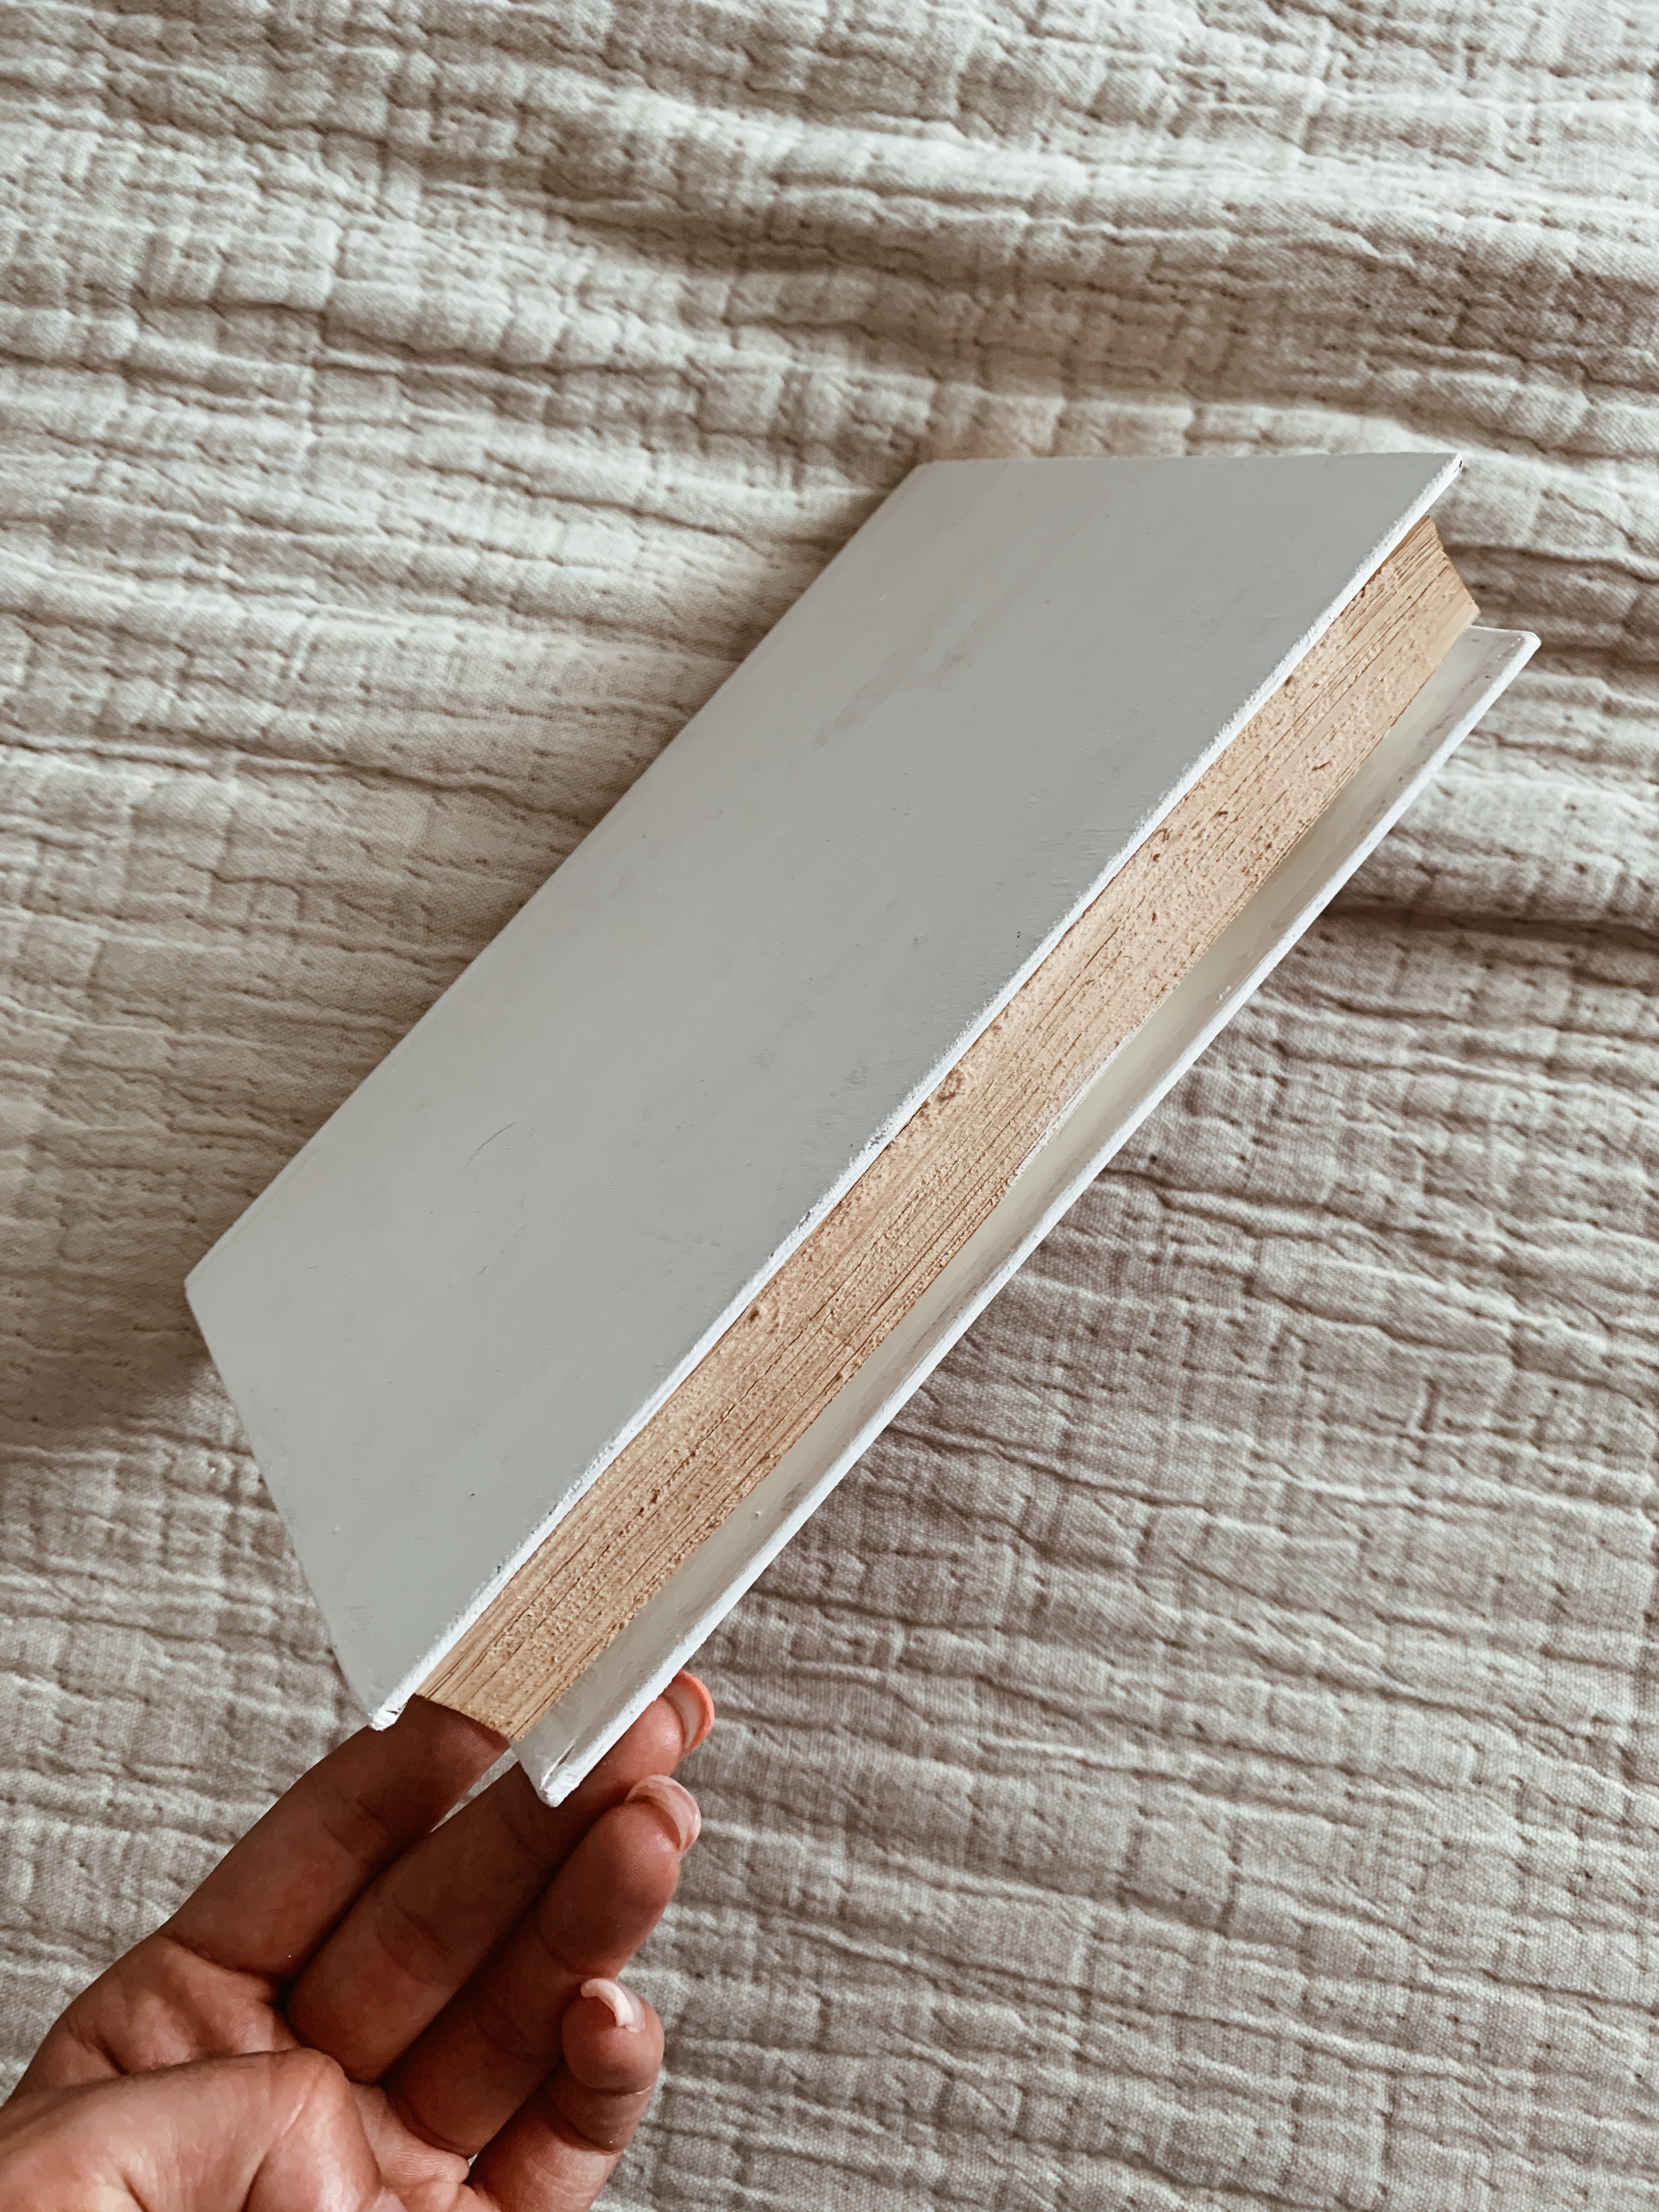
-If your painting cover your entire book with the paint colour of your choice, do a couple coats for texture.
-If you are wrapping your book, simply open your book and lay it flat and trace an outline of the book. Add about 2 inches to the sides of to be able to tuck them inside your book.
Here is a video on how:
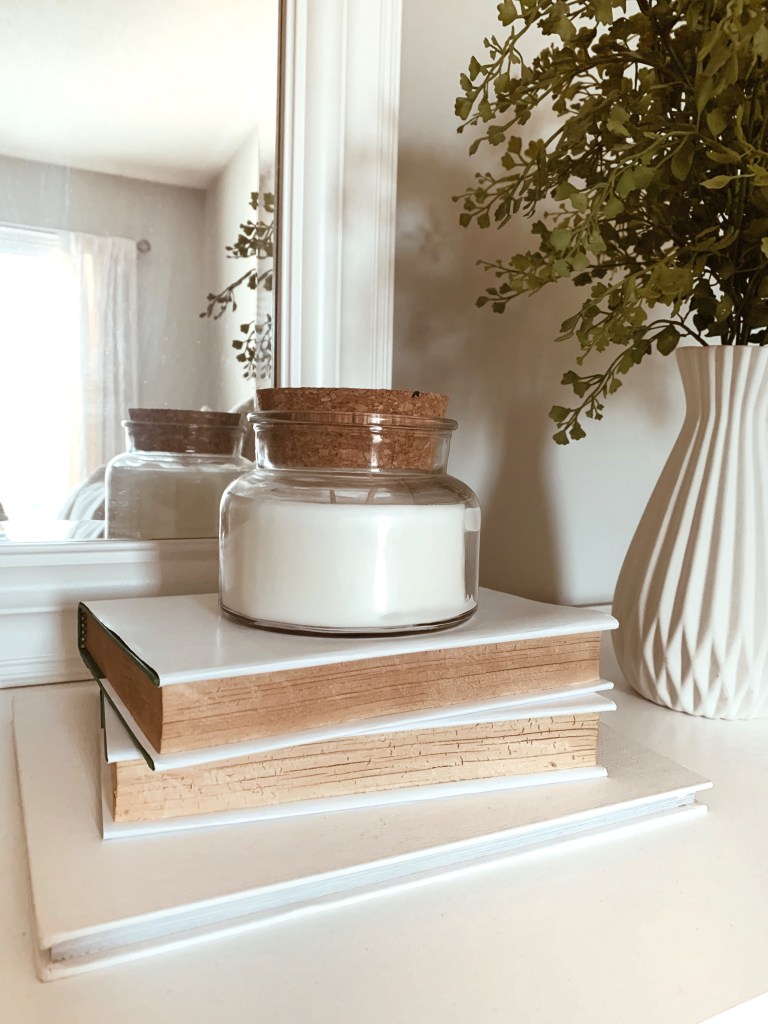
6. Then you are finished and can display your DIY Vintage books around your home.


2 responses to “DIY: VINTAGE BOOKS”
Love this idea! Thank you for the inspiration!
LikeLike
My pleasure! Simple DIY’s like this are always the best
LikeLike